Homebridge
With HomeKit we can control and automate devices applying different logic in our flats using Siri or the HomeKit app, for example lights, fans, outlets, locks, cameras… But imagine you spend £650 in a robot vacuum like this one:
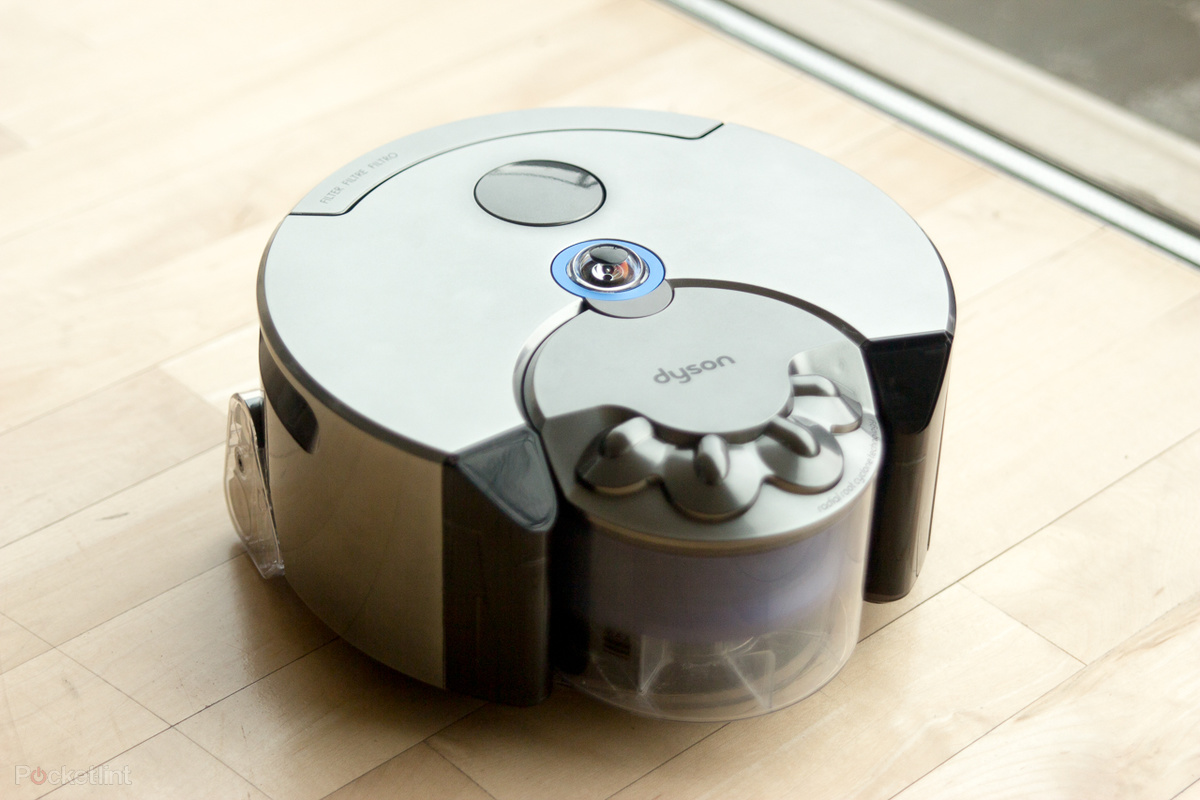
Then you realise you cannot control it using HomeKit or Siri. That’s very disappointing.
There are thousands of cool devices out there (lights, sensors, engines, TVs, doors, windows…robot vacuums), but only a few of them support HomeKit/Siri, something that requires certification from Apple, which costs money, custom software and hardware. For that reason, many companies are not going to add support for HomeKit to their new products or the current/old ones.
However, there is a way to add HomeKit to virtually any device, even devices you create by yourself. For doing that, we have to use a program called Homebridge.
Homebridge is in my opinion one of the best open source projects for the iOS ecosystem and at the same time a bit underestimated. Here we are going to use it to add HomeKit/Siri to a smart plug, which obviously does not support HomeKit natively.
Homebridge has hundreds of plugins to control any possible gadget, and it’s easy to create new ones. For this device, we will use the homebridge-hs100 plugin.
There are several switches that support HomeKit (and UK sockets), but they are very expensive, for example this one.
For this project I selected the TP-Link HS100 Wi-Fi Smart Plug. Fast, cheap, reliable and very long name. Everything an engineer needs.
Install and setup Homebridge.
I will use my beloved Raspberry Pi Zero W for this project, which I’m already using it for my Amazon Dash buttons. You can refer to that post that explains how to setup a Raspberry Pi computer.
Installing Hombridge is easy, follow this these instructions:
For installing node I would recommend you follow the steps I explained in the post I wrote about Amazon Dash Buttons.
Install and setup HS100 plugin.
Before doing anything, install the device as normal, using its app and check that it works fine using the app.
For installing this plugin, here you have instructions:
Using a program like LanScan for MAC, search the IP address of your device. Usually it’s easy to identify because you will see something like “TP-LINK TECHNOLOGIES CO.,LTD.” in the vendor column. Take that IP address and add it to the Homebrigde configuration file, creating a new section for your device:
{
 "bridge":{
  "name":"HomebridgePi",
  "username":"CC:22:3D:E3:CE:30",
  "port":51826,
  "pin":"123-12-123"
  },
  "description":"Fake accessory and one fake platform description file.",
  "accessories":[],
  "platforms":[
  {
   "platform":"TplinkSmarthome",
   "name":"TplinkSmarthome",
   "devices":[
    {
    "host":"192.168.0.30"
    }
   ]
  }
 ]
}
Restart Homebridge. You have to see the device that is being loaded properly.
Now you can use that device using HomeKit, that is, with your voice. Using HomeKit app you can rename any device to whatever you want, or in the name section that you see in the configuration file. Use that name when you activate or deactivate that device using your voice. In my case I say “Activate air freshener” or “Deactivate air freshener”, and it works. Sweet.
Testing Homebridge with an ambient air freshener.
It’s a good idea to start automatically Homebridge every time the computer is restarted.
By the way, do you remember the expensive robot vacuum? Install and configure this plugin to Hombridge. Restart and just say “Start cleaning”, and then your expensive robot vacuum works. Sweet.
Using HomeKit externally and/or adding automation.
This is an optional step. If you are already using Homekit (with or without Homebridge) probably you already realised that you cannot control your devices when you are far away from your flat or adding automation (for instance, adding timers or relate different devices with conditions), unless you use their apps, like Philips Hue or TADO, because evidently you are using their servers. The first case is because you are not using your WiFi, and for that reason your iPhone (with HomeKit and Siri) cannot talk to your HomeKit devices. The second case is because a server or HUB is needed in order to send commands to your HomeKit devices at specific times or under several specific conditions.
Fixing that is very easy, you can just configure an Apple TV or an iPad as HUB. Explanation here.
In my case I don’t have an Apple TV (in fact, I don’t have TV), but I have an iPad I use to read books. I configured it as a HUB and now I can control my entire flat with my voice even if I’m in another country.
Recent Comments