Amazon Dash Buttons
The concept of the Amazon Dash button is really cool: tap the button to order products that you receive from Amazon the next day in your house, very convenient for things like toilet paper or soap.

Now we are going to hack these buttons to use them with Philips Hue smart lights. But, why? Of course you can spend £25 buying more Philips Hue Dimmer, or buy many Amazon Dash buttons for £5 each one (£2 in black Friday), and hack them.
You can even hack these buttons to achieve many different use cases, from ordering pizzas or Uber taxis to deploy an app using Jenkins or send an excuse to your boss through email or HipChat (take the excuses from programmingexcuses.com, that’s what I do and it always works). Whatever you want or whatever you can imagine. Several ideas here.
Keep in mind that the Amazon Dash button is not a button, but a trigger. There are no 2 positions (on/off) or similar, just a trigger than once pressed, cannot work again after a few seconds. Probably the reason of this is to avoid ordering several times the same Amazon product.
To integrate these buttons with Philips Hue (and many other devices), you can use something called IFTTT, which is a service used to create chains of simple conditional statements, called applets. There is a hack to use IFTTT with Amazon Dash buttons, instructions here.
Evidently, I already tried it, and it works, but because it’s a web service and involves several network requests (in order to toggle the state, we must first read the current state), it takes about 12 seconds to see the lights changing. That’s very disappointing.
For that reason, I developed my own program that connects the buttons directly to my Philips Hue router (using the Philips Hue API/SDK), and it only takes 2 seconds. Much better.
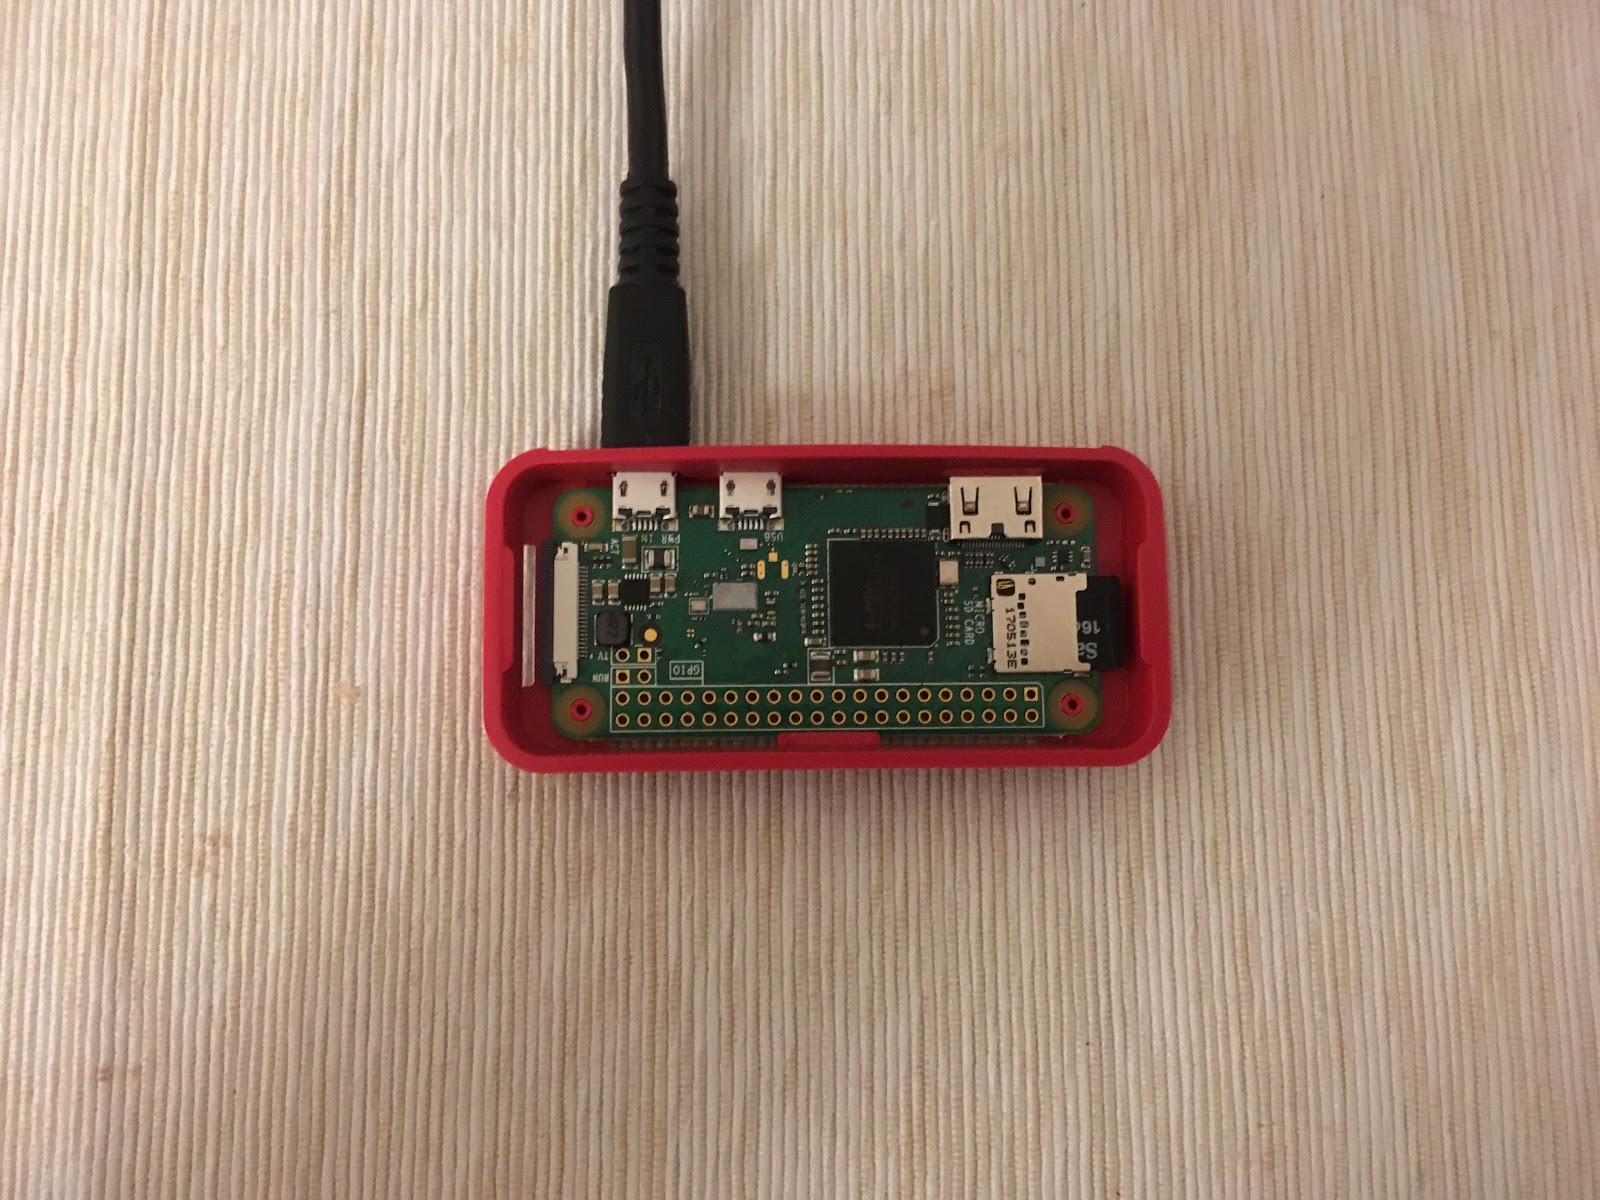
The only thing we need to see this working all the time is a computer working full time, which seems overkilling, however there is a very elegant way to do this. It’s called Raspberry Pi Zero W.
One of the smallest computers available in the market, extremely low consumption (a few £s per year working full time). Believe it or not, this is a full computer for just £10 (plus £5 for the case, £2 for the cable and £5 for a memory card). You can install a Linux distribution, browse the net using Google Chrome, play computer games like Minecraft, create multimedia center to watch movies or use word processors like LibreOffice. So unbelievable…
We can use it to integrate as many buttons as we want, and not only that, in another post we will use it to run Homebridge in this tiny computer and integrate virtually any device with HomeKit/Siri. We will use it in headless mode, which means no screen, mouse or keyboard.

Setting up the Raspberry Pi in headless mode:
Download the operating system from here, in our case RASPBIAN STRETCH LITE, the thing is, we don’t need the DESKTOP version, just the LITE version.
Burn the OS image into an empty SD card using your desktop computer. Once done, there are 2 things you have to do before using the card in your raspberry pi in headless mode:
- Activate ssh: create an empty file called ssh and add it to the root.
- Setting up wifi: create a file wpa_supplicant.conf, move it to the root and add this content, setting up properly SSID and password.
network={
   ssid="SSID"
   psk="password"
   key_mgmt=WPA-PSK
}
Extract the SD card from your computer and put it on your raspberry pi. Attach a USB cable to the raspberry pi to supply electricity, the socket at the right. After a few seconds, the system will boot and connect automatically to your wifi. Use a ssh client in your desktop computer to connect to the raspberry pi. The default username is “pi” and the default password is “raspberry”. You have to get the IP address. You can scan your network using “LanScan” for MAC. Once you have the IP, write in your console this and later your password:
ssh pi@192.168.0.31
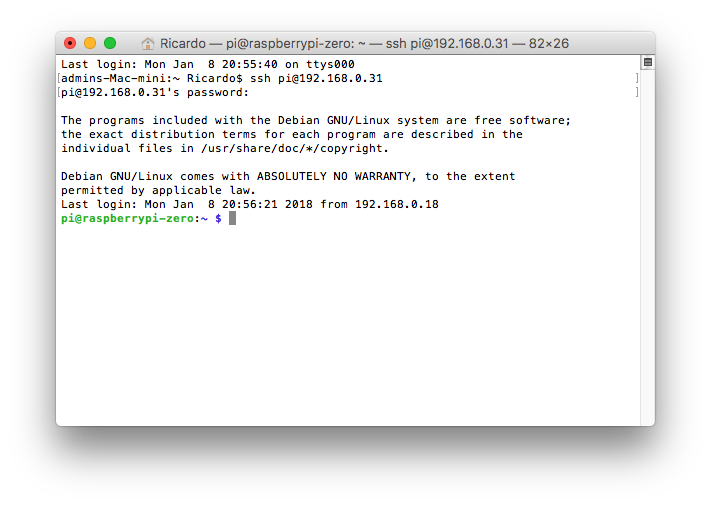
Now you have total control of your headless raspberry pi remotely. It’s a good practice to change the default password. Use the command “passwd” to do it. Of course, you have to apply any update available, using these 2 commands:
sudo apt-get update
sudo apt-get upgrade
If you want to connect to your raspberry pi using “raspberrypi.local” address rather than an IP (which changes due to DHCP), you have to install avahi-daemon, more instructions here.
Setting up node.
Install NPM, the package manager for the Node JavaScript platform.
sudo apt-get install npm
To install node, I tried several different ways, and eventually only these steps worked properly for me, but using URL: https://nodejs.org/dist/v6.5.0/node-v6.5.0-linux-armv6l.tar.gz
The reason I selected version 6.5.0 is because several modules I want to use need at least that version.
Setting up the Amazon Dash buttons.
You have to prepare your Amazon Dash buttons and get their MAC addresses. Using the Amazon iPhone app, follow the wizard to setup the button, but remember, do not execute the last step of the configuration wizard when using the iPhone Amazon app (otherwise you would order something every time you press the button). Now you need to execute a program to discover the MAC address of every button, execute find_button. Program here.
Something really remarkable about these buttons and the Amazon iOS app is that they use ultrasound to communicate, more info here.
Setting up dasher-hue
Install git with:
sudo apt-get install git
Install dasher-hue with these 3 commands:
git clone https://github.com/Ricardo1980/dasher-hue
cd dasher-hue
npm install
To get your group or light identifier, perhaps you have to login directly into your Philips Hue router. I don’t see those identifiers using the iPhone Philips Hue app. First of all, you have to create a new user in your Philips Hue router. Follow these steps. Then you can retrieve information about your lights and groups (of lights) using any of these URLs: http://<bridge ip address>/api/<username>/lights or http://<bridge ip address>/api/<username>/groups

Now it only remains to modify config/config.json with information about your buttons, basically there you attach a button MAC address to a specific group of lights or just one light. Details here. You can launch dasher-hue using:
sudo npm run start
Although once you check that everything works fine, it’s better to launch this program in the boot sequence, so every time the computer is restarted, it will work properly. Check this link.
Final result
As already said, the response time of this is now 1 or 2 seconds, rather than 12 seconds using IFTTT.
Recent Comments